[ad_1]
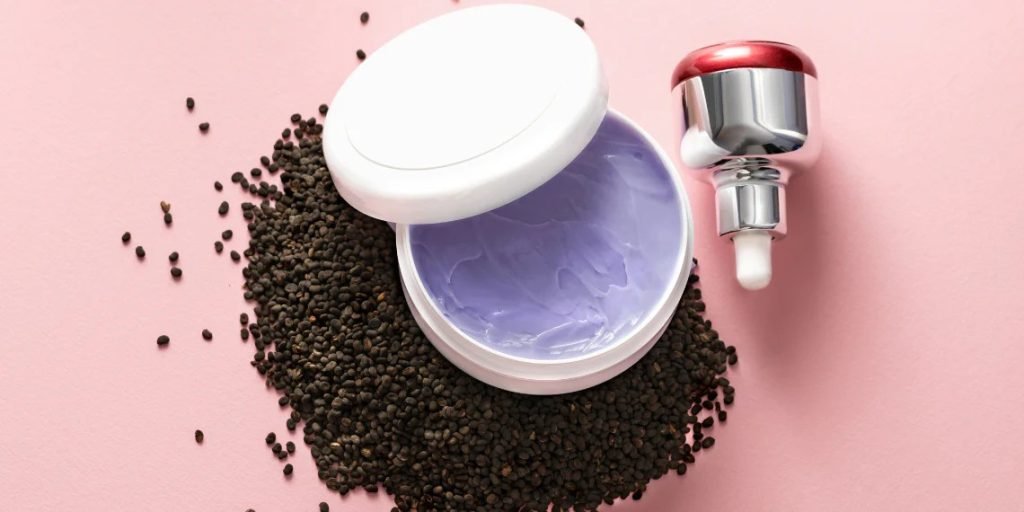
Swirled Body Butters – Have you seen these amazing things?? They are super catchy and seem to be everywhere on Instagram, so I became obsessed and experimented with them.
Here is my version. It’s a simple way to achieve a good consistency of body butter that can be squeezed out of a pastry bag in a smooth, swirling motion and with vibrant colors that make your body butter stand out from the rest.
Body Butter Base Recipe – 60% butter & 40% oils
A little secret I’d like to reveal as someone who has been formulating and playing with DIY skin care for 10 years (hhhhhhhhhhhhhhhhhhhhhhhhhhhhhhhhhhhhhhhhhhhhhhhhhhhhhhhhhhhhhhhhhhhhhhhhhhhhhhhhhhhhhhhhhhhhhhhhhhhhhhhhhhhhhhhhhhhhhhhhhhhhhhhhhhhhhhhhhhhhhhhhhhhhhhhhhhhhhhhhhhhhhhhhhhhhhhhhhhhhhhhhhhhhhhhhhhhhhhhhhhhhhhhhhhhhhhhhhhhhhhhhhhhhhhhhhhhhhhhhhhhhhhhhhhhhhhhhhhhhhhhhhhhhhhhhhhhhhhhhhhhhhhhhhhhhhhhhhhhhhhhhhhhhhhhhhhhhhhhhhhhhhhhhhhhhhhhhhhhhhhhhhhhhhhhhhhhhhhhhhhhhhhhhhhhhhhhhhhhhhhhhhhhhhhhhhhhhhhhhhhhhhhhhhhhhhhhhhhhhhhhhhhhhhhhhhhhhhhhhhhhhhhhhhhhhhhhhhhhhhhhhhhhhhhhhhhhhhhhhhhhhhhhhhhhhhhhhhhhhhhhhhhhhhhhhhhhhhhhhhhhhhhhhhhhhhhhhhhhhhhhhhhhhhhhhhhhhhhhhhhhhhhhhhhhhhhhh ==>))
In this article I will not talk about skin care products that contain water as that is another conversation and when you first introduce water into a skin care formula you also need to add an emulsifier and a preservative. Long topic, we can talk about it in a later blog.
Back to my little secret, there are 3 common base butters used in DIY skin care: Shea, Mango and Cocoa. All other butters can be similar to these in firmness and consistency, and once you’ve tried them all, you’ll be able to categorize them accordingly.
But if you’re a beginner or occasional DIY skincare creator, just stick to these 3 butters and these ideal ratios:
Shea butter – use a ratio of 70% shea and 30% oils
Mango – Use a ratio of 60% mango and 40% oils
Cocoa – Use a ratio of 50% cocoa and 50% oils
These conditions form a semi-solid body butter that melts on skin contact. I made a DIY tutorial and blogged about it here.
In today’s Swirled Body Butter recipe I have used both Shea and Mango and I kept the butters at 60% and the oils at 40%. This gave me the perfect consistency butter that I could easily push out of a pastry bag for that beautiful swirled look that I am so obsessed with.
Swirled Fruit Loop Body Butter Recipe
For this recipe I used the following ingredients, I was able to fill 10 8-oz glasses. Please note that due to the empty space created by the swirl, each jar contains less than 8 ounces of product.
ingredients
To personalize your Swirled body butter, you can replace the essential oils and glitter colors with whatever you like (for example, you can use fruit loop scent if you love it). Otherwise, make sure to keep the ratio and measurements the same as this recipe and it will be beautiful.
How to make a multicolored body butter
Put shea butter, mango butter, jojoba and almond oil in a bowl, put this over a saucepan with a little water and turn down the heat. Let it all melt completely, stirring occasionally. This will take about 15-20 minutes.
Remove from heat and allow to cool to the lowest flash point of your essential oils.
Note: The flash point of an essential oil is the temperature below which the scent of the oil remains strong and fragrant. If you heat an EO above its flash point, it will begin to vaporize and the scent will diminish.
I used Bergamot EO, which has a flash point of 131 F, and Peppermint EO, which has a flash point of 156 F. Because Bergamot has the lowest flash point, I waited until my melted butter + oils were cooler than 131 F, so I added my essential oil blend.
I then put the whole thing in the fridge for about 2 hours or until it was mostly solid.
I put it all in my kitchen mixer with a whisk and I whipped it until it was fluffy, lighter in color and almost doubled in size. This took about 10 minutes.
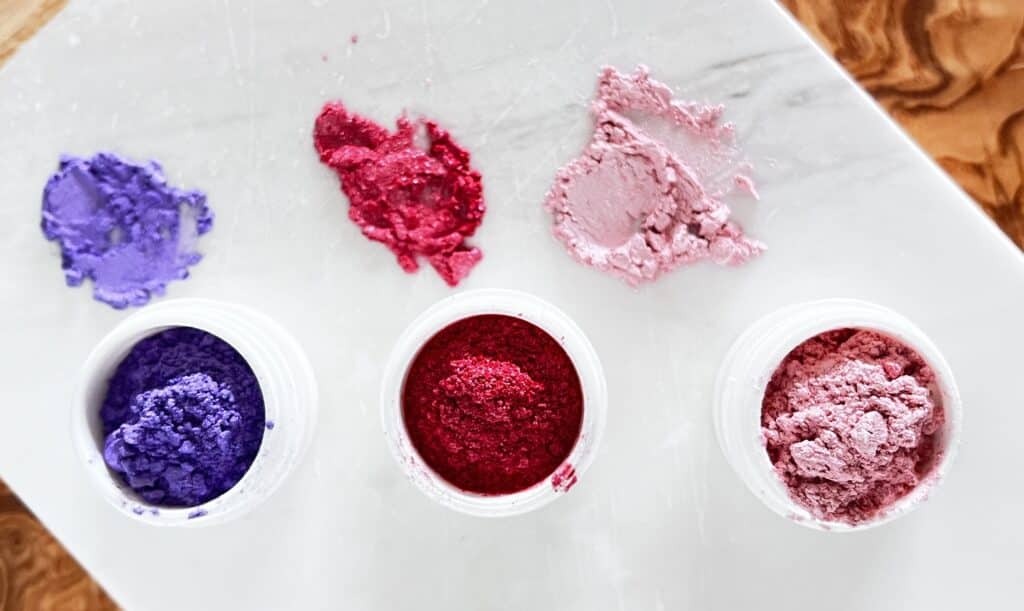
I then separated the mixture into 3 bowls, added a different color of glitter to each, stirred and folded until fully incorporated.
Pipe order
For this step you will need:
- A large, star-shaped cake tip
- A large cake bag
- Food packaging in plastic. I used Press’n Seal since that’s what I had in my kitchen, but you can use a regular one
Step 1
Cut the tip off your pastry bag, tucking the tip securely in at the end of it
Step #2
Cut approx. 1.5 feet of the plastic lunch box and lay it flat
Step #3
Make 3 straight lines of your 3 colored body butters, making sure to leave some empty space on all sides of the plastic to make it easy to wrap everything.
Step #4
Carefully wrap the long side so that you have a sausage-like pastry bag with your 3 colored butters snugly inside.
Twist close each of the two shorter ends of the plastic wrap
Step #5
Cut off one of the short ends and place this in the main pastry bag (the one with the pastry tip).
Step #6
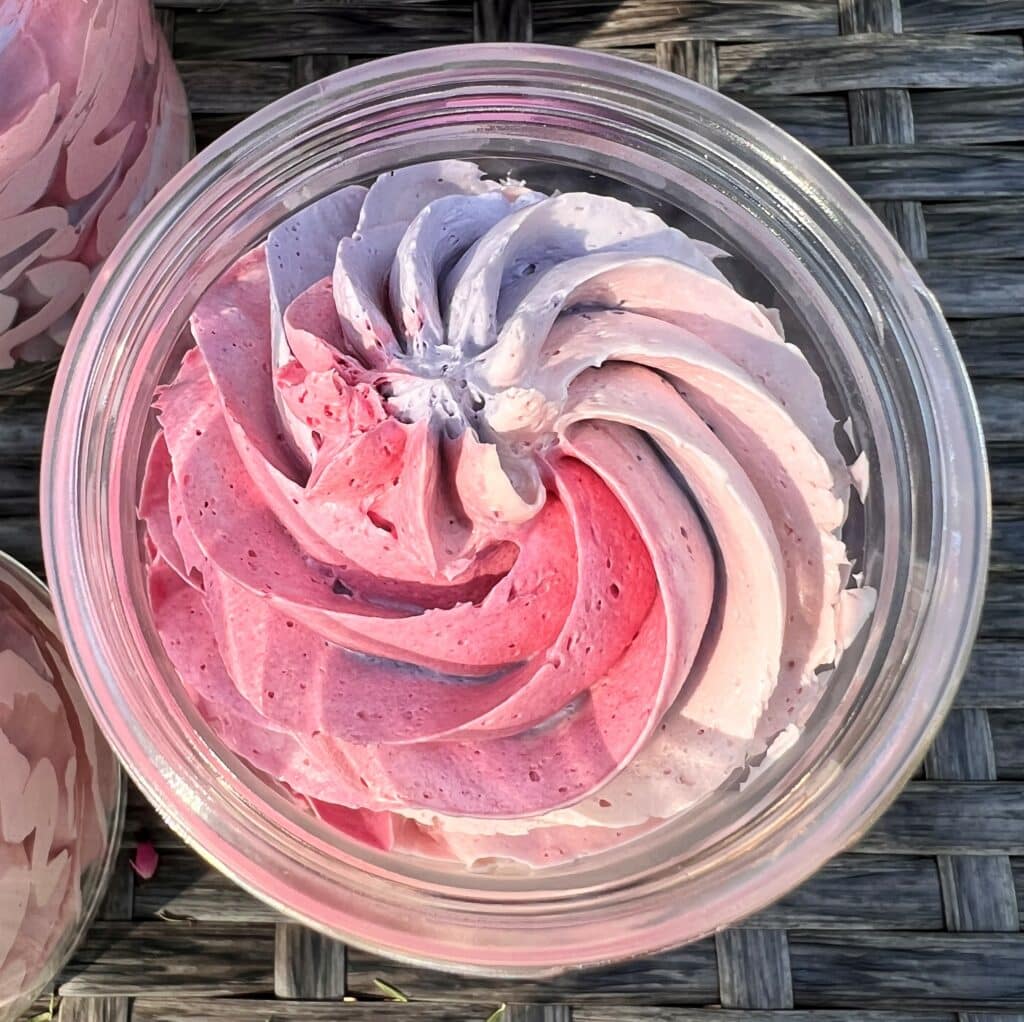
Place the tip in the bottom of your jar and squeeze the contents of the bag in a circular and spiral motion until the jar is full.
——
YOU DID IT! Yes, you are done and I bet it looks like art.
This body butter has a long shelf life, around 12 months. Be sure to store it in a cool place so it doesn’t melt. Apply this on your skin 2 times every day and your skin will love it.
As always, please leave any questions or feedback you may have below.
[ad_2]